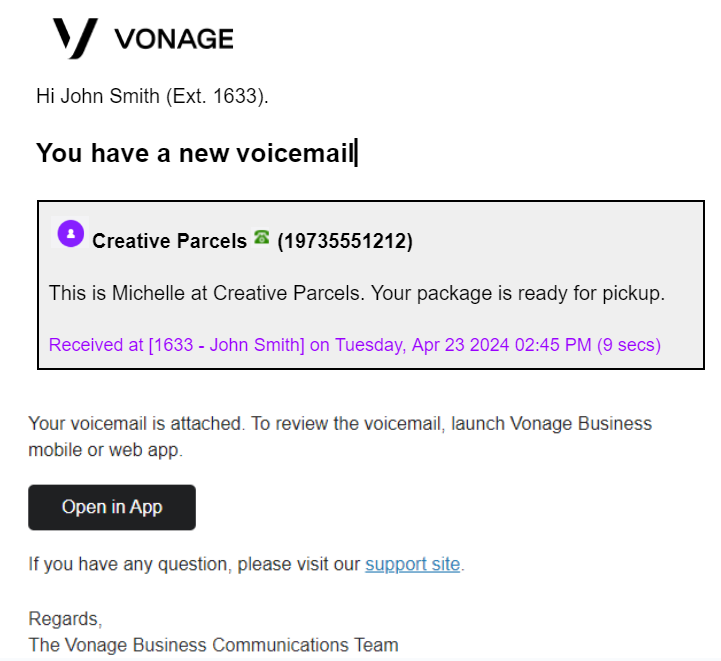
Vonage Visual Voicemail is an add-on feature that generates a written transcript of your voicemail messages and allows you to read them in the Desktop App and Mobile App. You also have the option to send the voicemail audio file and the transcript to your email.
- $3.00 per month, per extension.
- Can be added to any calling plan or any extension.
- Cannot be assigned to Virtual Mailboxes.
- Only the account Super User and Administrators can add this service to an account.
NOTE: This is different than Voicemail Audio to Email, which is a free feature that only emails you the audio file of your voicemails and does not transcribe messages.
Only Super Users and Administrators can add or set up Vonage Visual Voicemail.
Add Vonage Visual Voicemail
To add Vonage Visual Voicemail to your account, contact Customer Care at 1300 10 81 84.
Assign Vonage Visual Voicemail
You can assign this feature to an extension using the following steps:
- Sign in to the Admin Portal.
- Click Billing, then click Manage Services.
- Hover over Voicemail Transcription and click the Magnifying Glass.
- Go to the Select from Available Extensions drop-down and select an extension.
- Click Add Selected Extension(s).
- Click Save.
Reassign From One Extension to Another
Use the following steps to reassign it from one extension to another.
- Sign in to the Admin Portal.
- Click Billing, then click Manage Services.
- Hover over Voicemail Transcription and click the Magnifying Glass.
- Click the X icon next to the assigned extension.
- Go to the Select from Available Extensions drop-down and select an extension.
- Click Add Selected Extension(s).
- Click Save.
Set Up Vonage Visual Voicemail
This feature emails you a written transcript and audio file of your voicemail messages.
- Sign in to the Admin Portal.
- Click Phone System, then click Extensions.
- Hover over the extension associated with your voicemail and click the Pencil icon.
- Click Voicemail.
- Mark the option Confirm Send Voicemail to Email and enter the email address.
NOTE: You can enter multiple email addresses, separated by a comma. - Click Save.
Troublehsoot Issues
| Voicemail to Email Not Received |
- Check that the email address(es) are correct.
- Make sure that a comma separates multiple email addresses.
- Verify that email was not delivered to Spam or Junk folders.
- If unable to resolve, contact Customer Care at 1300 10 81 84.
|
| Voucemail to Email Delayed | If delivery of your voicemail to email is delayed, contact Customer Care at 1300 10 81 84 to report the issue. |
View a Sample Transcript
Your transcripts are received from voicemail@vonagebusiness.com and the subject advises you of the new voicemail and includes the originating phone number.


